Friday, December 7, 2012

Oven hand mitts

I found an awesome tutorial on Pinterest for Oven Mitts and thought I'd give it a try! There was a bit of a learning curve, but they came out pretty nice. Not good enough to give to others (until I get more practice), but good enough for me.

You can find the detailed tutorial and pattern here:
http://www.theidearoom.net/2009/10/oven-hand-mitt-tutorial.html

 Can you tell which one is the first one I made and which is the second?


How about now?


The first one (and clearly worst one) was in the left in both photos. As you can see, the fabric puckered quite a bit on the top side (the part where your hand goes) and I missed the bias tape a few times on the bottom side (the side that touches the pan).

I learned a few things that helped me do a little better job the second time around.
1. I cut the cotton batting and the Insulbrite slightly smaller than the fabric so that there wouldn't be so much bulk to sew the bias tape over. With the first one, I cut some of the bulk off, but the second time I was a little more successful with sewing close to the edge.
2. Instead of cutting 4 half ovals per potholder, I cut 2 pieces on the fold as was suggested in the comments on her blog.
3. I used the "proper" way to sew bias tape as demostrated here.
4. Instead of pinning the bias tape all the way through all that fabric when sewing, I just pinned it to the outer most layer. This made it MUCH easier to pin.
5. I overlapped the open end of the bias tape a little more than the first time before sewing.

Here is a two more pics of the first one:


And a couple more of the second one. You'll have to excuse the dirtiness, I used it prior to taking the photos.


And a photo of the first one "in use."


Note that I used only 1 layer of Insulbrite and 1 layer of cotton batting to make it easier on me. I do feel some heat, especially at higher temperatures, but definitely not something that will burn me. If I make these for others, I might try to add another layer of cotton batting. The original blog suggests 2 layers of Insulbrite and 1 of cotton batting.

Happy Crafting!


Friday, November 30, 2012

Felt Christmas Tree

When you pull out the sequins, glitter glue, and ribbon for a craft project that you intended to be all felt, you know you've gone overboard!

So here it is, my version of the extremely popular felt Christmas tree for Toddlers and Pre-schoolers.


Go here for detailed instructions: 


The felt-by-the-yard was on sale at JoAnn for $2.99/yard. With one yard, I had plenty left to make a second tree. The ornaments are made of the felt sheets which are often on sale for 5/$1. I pulled out some glitter glue, ribbon and sequins that I already had on hand and glued to the ornaments to spruce them up a bit. Spruce... haha. The glitter glue came from the Dollar Tree and the ribbon from the Target dollar bins. 


One of the presents was made with scrap bias tape:


I also outlined the star with glitter glue, but I didn't get a picture of that. So there you have it, a pretty inexpensive tree for your toddlers and pre-schoolers. 

Saturday, November 17, 2012

Another bapron!

Against better judgment, I stayed up late (for me) last night to finish this bib! Hurray, another one down.

I discovered (by accident) that you can actually squeeze two baprons out of one fabric quarter if you lay out your pattern on the short edge. So... there will be one more owl/butterfly bib in my future. Next time, I"ll use the yellow/marigold bias tape though. I think it will brighten up the brown background.


It might be just a little bit tight for my 18-month old, particularly in the neck (and a little in the arms). I don't think it would be too hard to adjust though.

As mentioned in my previous post, you can get the detailed directions and pattern here (Originally FREE, but now $6!).

http://www.craftinessisnotoptional.com/2011/05/bapron-tutorial.html?commentPage=2


Thursday, November 15, 2012

Baby/Toddler Bib... The Bapron

I saw this awesome bib on Pinterest awhile ago and knew that it would be one of my first sewing projects. It turns out it's my second. Please go here for detailed instructions and pattern:

http://www.craftinessisnotoptional.com/2011/05/bapron-tutorial.html

Here is my finished product!


The material was in a 5-pack of coordinating fabric quarters from JoAnn that I purchased late spring/early summer. Unfortunately, I haven't seen them there since. The flannel on the back is a fabric quarter I also purchase from JoAnn. The bias tape was also from JoAnn. Learning to make my own bias tape is on my to-do list.

Overall the project was fun, quick and pretty easy. The bias tape was much easier than I expected. It's not perfect, but I am very satisfied with it. I see MANY more of these in my future. What a great baby shower gift.

The back:


And on my sweet Emilie (18 months):

Mmmm... Cookies!

It took her a little bit to get used to it, she really doesn't like wearing bibs:


This should be great for when she learns to use the spoon, which I have been REALLY procrastinating on!

Next up, another bib made out of the coordinating owl/butterfly fabric!

Update: It turns out that the pattern is not free anymore! It is now $6 and comes in various sizes.

Glitter Bottles

I found these on Pinterest and had to make them! We use them in normal play though and not for Time Out. Go here to get more detailed instructions on how to make them:

http://mycrazyblessedlife.com/2011/10/03/relax-bottletime-out-timer/

Here is the end result taken right after shaking:


The turquoise one was made with Clear Gel Tacky Glue, a turquoise glitter glue made by JoAnn and a similar turquoise fine glitter. And water, of course. I also added letter beads also found at JoAnn since my 3-year old son is quite obsessed with letters. I added one of each of A-Z.

The red one is made from Clear Gel Tacky Glue, red glitter glue found at the dollar tree, Red and Silver thick glitter found at the Dollar Tree, a small amount of purple/pastel multi-color glitter I already had, and water. The red one really sparkles a lot when it starts to settle down. Unfortunately, I couldn't capture a good picture of the sparkle.

Here is a picture of when the glitter stops swirling and starts settling:


And a picture of the letters in the turquoise bottle:


I find that dumping the bottle upside down after it has completely settled creates an even cooler effect than shaking it. Here is a couple pictures of that. Unfortunately, it is hard to capture a great picture of this effect, since much of the effect relies on movement.

This effect is even cooler in the turquoise bottle since the letters will cascade down, pulling the glitter with it. It's really hard to capture on camera though.


There you have it. Two glitter bottles complete. For the ummm... my kids. Right, my kids.  OK, OK, so maybe I play with it a little more than they do.


Monday, August 6, 2012

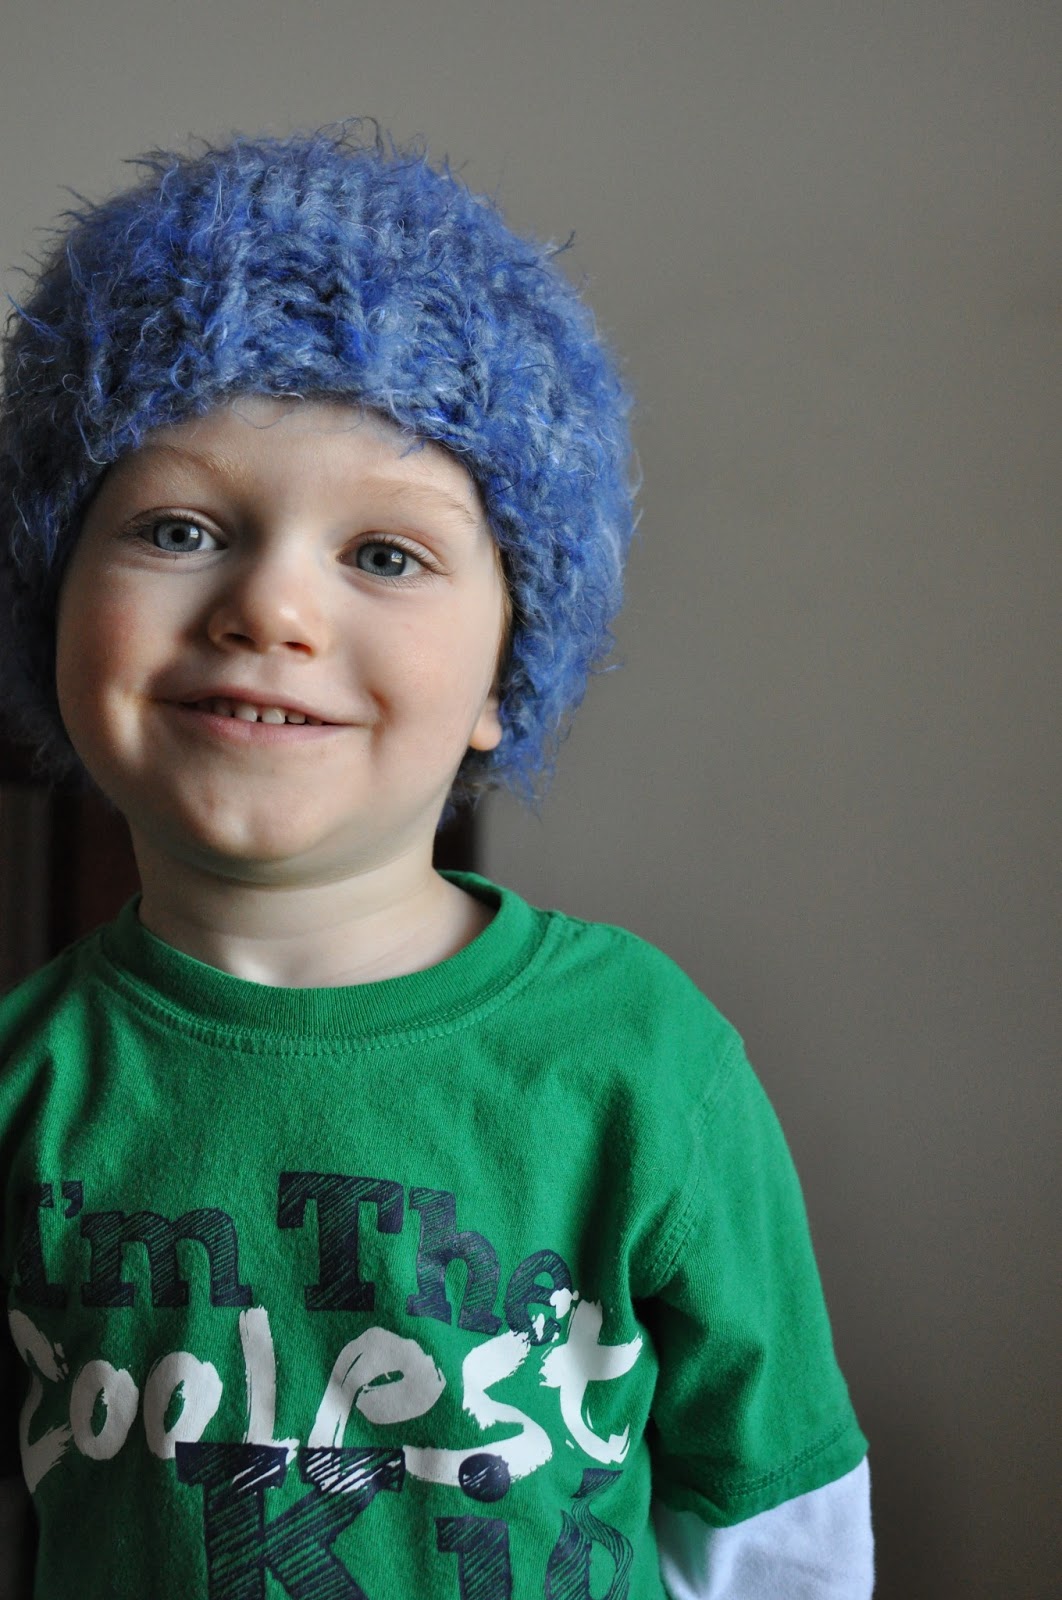
Fast and Fluffy Toddler/Preschooler Hat


Fast and Fluffy Toddler (Pre-schooler) Hat


Hat with small point:
Holding yarn double. 
Gauge 7 sts, 12 row/ 4 inches in stockinette stitch
Size 17 needles
Yarn: 1 skein JoAnn Sensations Angel Hair (bulky)*
Holding yarn double, CO 30 stitches using long-tail cast on or similar stretchy method. 
Join in the round using magic loop or DPN. Be careful not to twist.
1x1 ribbing for 5 rows (K1, P1, repeat) 
Knit in stockinette for 5-5.5” for toddler (~1-2 years) OR 6-6.5” for pre-schooler (~3-5 years)
Decrease rounds: 
Round 1: K4, K2tog around (25 sts) 
Round 2: knit 
Round 3: K3, K2tog around (20 sts) 
Round 4: Knit 
Round 5: k2, K2tog around (15 sts) 
Round 6: knit 
Round 7: K1, k2tog around (10 sts) 
Round 8: knit 
Round 9: k2tog around ( 5sts)
Break yarn and using a yarn/tapestry needle, thread through the open stitches and draw tight. Weave in loose ends.
Tip: Roll the one skein into two separate balls prior to starting your knitting


* Update 1/21/15: I believe JoAnn has rebranded this yarn as Purl Essence Angel Hair. I have not used the yarn since this change, but it appears to be the same.


Hat with round top (no point): 
This version has a more rounded top and no point. The only difference is in the decreasing.
Holding yarn double. 
Gauge 7 sts, 12 row/ 4 inches in stockinette stitch
Size 17 needles
Yarn: 1 skein JoAnn Sensations Angel Hair (bulky)
Holding yarn double, CO 30 stitches using long-tail cast on or similar stretchy method. 
Join in the round using magic loop or DPN. Be careful not to twist.
1x1 ribbing for 5 rows (K1, P1, repeat) 
Knit in stockinette for 5-5.5” for toddler (~1-2 years) OR 6-6.5” for pre-schooler (~3-5 years)
Decrease rounds: 
Round 1: K3, K2tog around (24 sts) 
Round 2: knit 
Round 3: K2, K2tog around (18 sts) 
Round 4: Knit 
Round 5: k1, K2tog around (12 sts) 
Round 6: k2tog around (6 sts)
Break yarn and using a yarn/tapestry needle, thread through the open stitches and draw tight. Weave in loose ends.
A quick, simple hat using reasonably priced yarn and large needles.


Updated 1/12/13 to add an extra ~1/2 inch before decreases. 

More pictures for the rounded top: 

Left above: Blue 
Right above: Black/Grey


Left above: Purple
Right above: Purple stripes


Left above: Red/Multi
Right above: Posy

Also see Fast and Fluffy Toddler/Preschooler Hat on Ravelry.

Tuesday, May 8, 2012

Hair Clip Holder (aka... fun fun fun with the staple gun)

Recently, I made a hair bow/clip holder for my daughter based on several tutorials I found online, including:
http://www.joyshope.com/2008/09/hair-bow-holder-tutorial.html

It was very easy and simply involved using a staple gun to attach a strip of fabric and several ribbons to a stretched art canvas. Please refer to the tutorials linked above for detailed instructions. My materials included: 
1 - 12" x 16" stretched art canvas 
2 - grosgrain ribbon spools 
1/2 yard fabric (from JoAnn, mine was called "Legacy Studio Scroll Batik")
1 staple gun with staples
1 bag of gold foam "Sparkle Letters" (at JoAnn for $3 retail price)

And here is my finished product. 


At some point, I would like to add little owls to the bottom, similiar to this: